Samples of Good Digital Impressions
When using your digital 3D intraoral scanner, it’s important to remember three essential tips: swift scanning, maintaining contact, and the angle. These tips are crucial in preventing distortions and ensuring you take acceptable digital impressions.
Firstly, moisture reaccumulates, so you want to scan swiftly to capture the clear and visible prep as it deteriorates. It will also help with over-scanning or collecting too much information. Also, maintain contact or close distance between the scanner and teeth. Lastly, angulation is everything. Staying flat on the prep and moving buccal and lingual is extremely important. Be sure the scanner camera angles are facing directly. It also applies when taking bite registration on both sides. For example, the bite must be completely closed, then move your scanner straight up and down, moving parallel, avoiding tilting the scanner camera.
Thus, it takes practice and skill to capture the proper anatomy, free from distortions and voids. As a picture worth a thousand words, so the demonstration. If you need a demonstration by our staff, let us know. We are glad to show you how to scan good, working digital impressions.
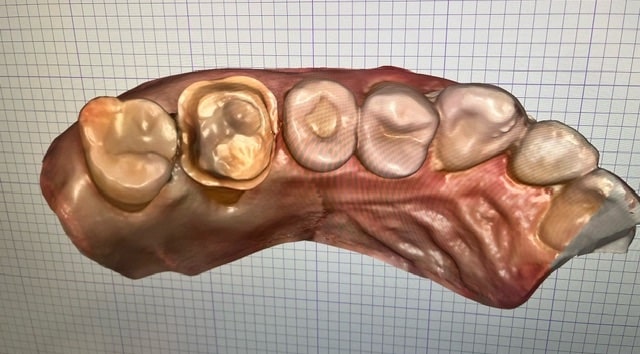
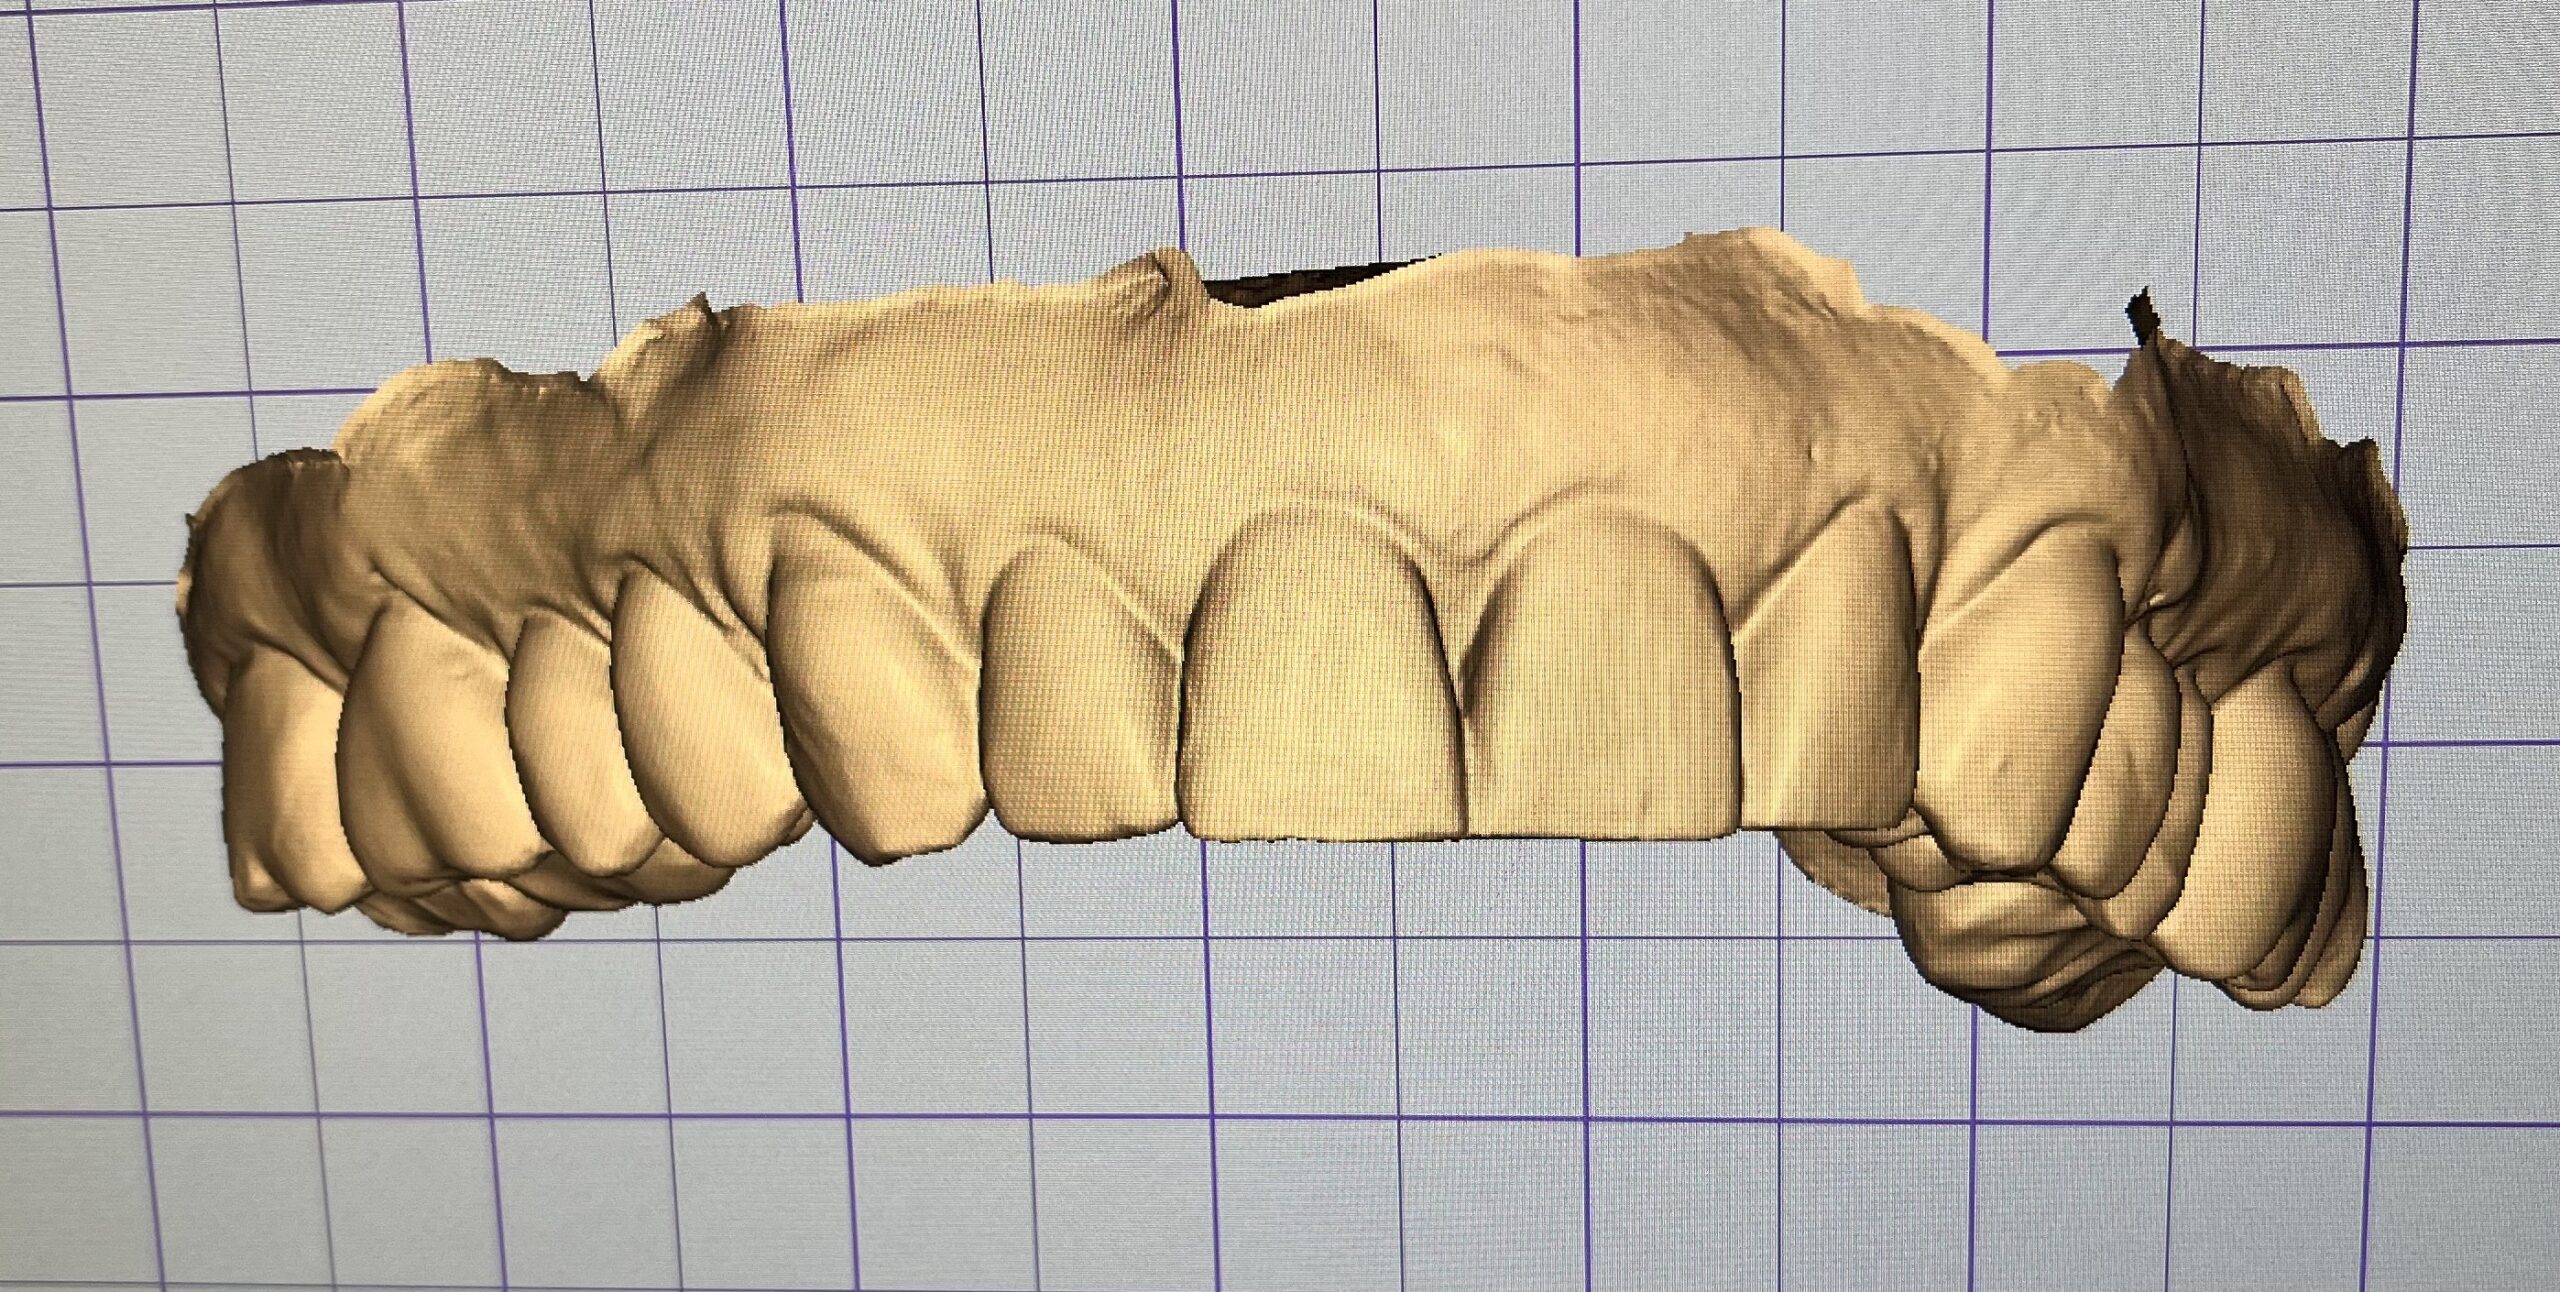
Here are samples of what constitutes a good digital scan. As a rule of thumb, please ensure that:
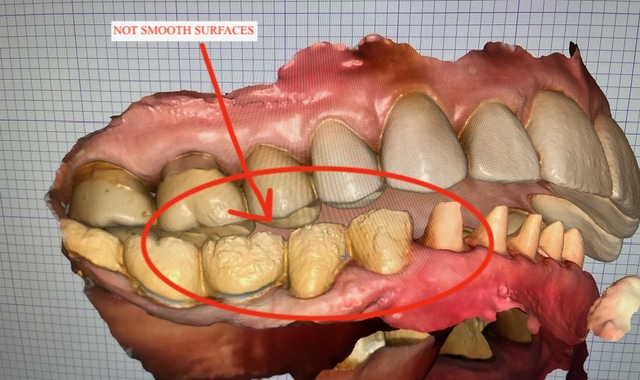
- Image of teeth surfaces are smooth
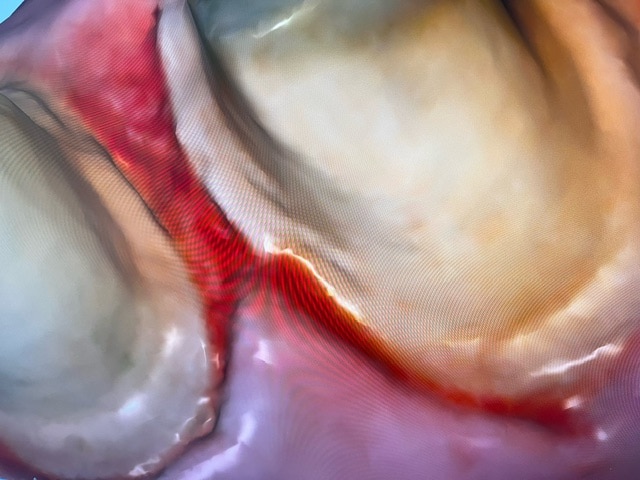
- Identifiable and distinguishable margin lines
- Full arch scan, including bite registration
- Always use the double-cord method
If you need help or are in doubt, please take another impression using PVS material as a confirmation.


Here are samples of the incorrectly scanned images.

